


Perennials
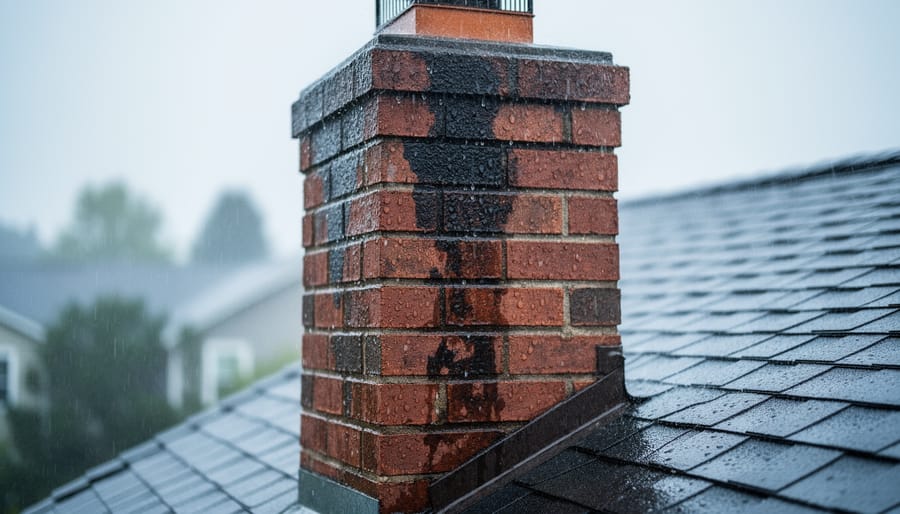
Your Brick Chimney Is Slowly Destroying Itself (Here’s How to Stop It)
April 17, 2026Inspect your chimney’s brick surface during a light rain to spot where water penetrates—these wet spots reveal exactly where protection is needed. Before professionals like those offering chimney repair Clearwater services tell you it’s urgent, understanding waterproofing saves you from costly repairs down the road.
Water is your brick chimney’s silent enemy. Unlike garden soil that drains freely, masonry absorbs moisture through tiny pores, and when temperatures drop, that trapped water freezes and expands. This freeze-thaw cycle cracks bricks, crumbles …

When is it Too Hot To Mow the Lawn?
September 18, 2023For many homeowners and gardening enthusiasts, maintaining an impeccable and healthy lawn is a point of pride. As summer heat intensifies, the question of the century arises: “When is it too hot to mow the lawn?”
While hot weather may seem like an ideal time to get outdoor chores done, it’s essential to understand the implications of mowing under the sweltering sun. In fact, extreme heat affects the well-being …
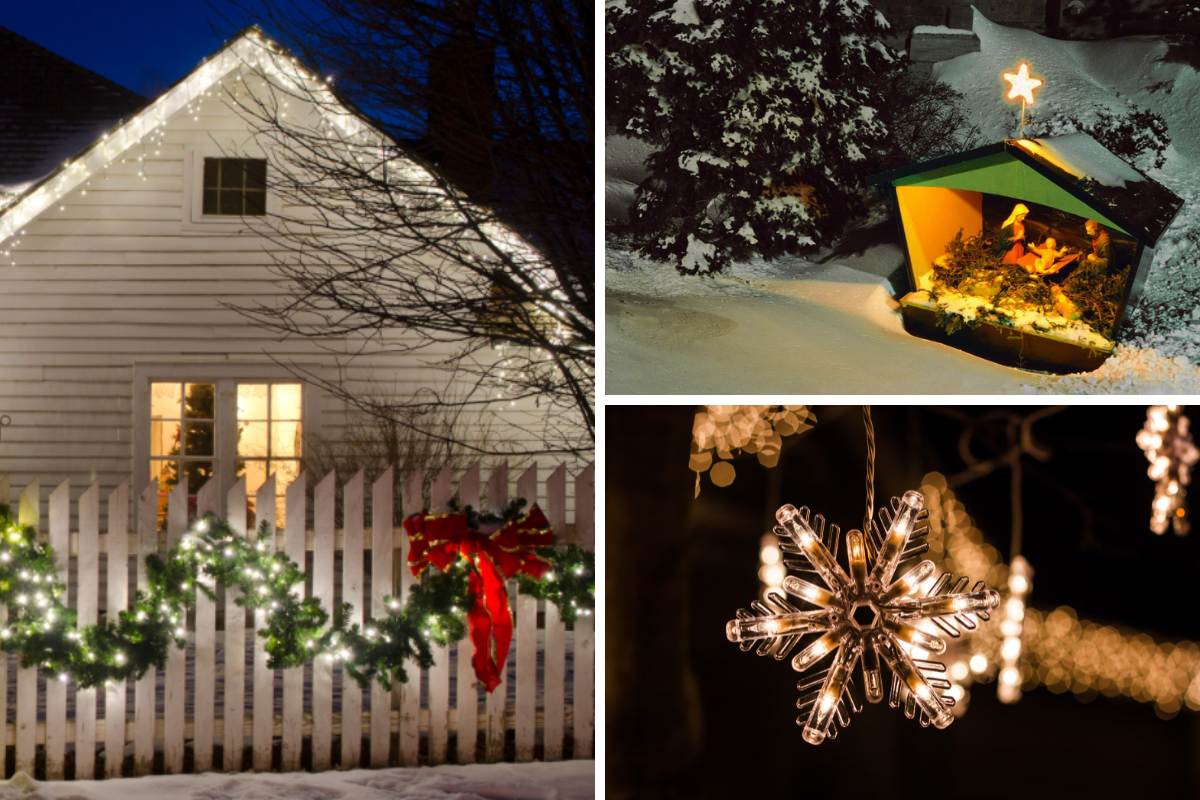
10 Christmas Lights Outdoor Ideas
April 29, 2023From simple lighting up of driveways to creative ideas such as twinkle lights in trees or lighted snowflakes, plenty of Christmas light ideas make your house stand out during the festive season.
Here are ten incredible outdoor Christmas light ideas that will help you create a festive atmosphere in the front yard and bring joy to all who pass by!
10 Outdoor Christmas Lights Ideas
1. Starburst Lights Around Bushes or Fences
Create a stunning starburst effect by stringing lights around your bushes or fence. This simple outdoor lighting setup is easy to achieve and looks incredibly festive! Plus, you don’t …